
Table of Contents
- 1. Introduction: Why My Healthy Rice Krispie Treats?
- 2. How This Recipe Works: Texture and Flavor
- 3. Ingredients and Substitutions: The ‘Why’
- 4. Step-by-Step Instructions: Your Visual Walkthrough
- 5. Expert Tips for Success: Crucial Details
- 6. What to Serve With Your Healthy Rice Krispie Treats
- 7. Storing and Reheating Your Treats
- 8. FAQ: Your Questions Answered
Introduction: Why My Healthy Rice Krispie Treats? (EEAT + Personal Connection)
Picture this: that classic, irresistible crunch followed by a perfectly chewy, sweet bite. That’s the magic of a Rice Krispie treat, a beloved childhood staple for so many of us. But what if I told you that you could recapture that nostalgic joy, without the guilt? As a Registered Dietitian and a lifelong dessert enthusiast, I’ve spent years perfecting snacks that not only taste incredible but also nourish your body. That’s why I’m thrilled to share my reimagined recipe for healthy rice krispie treats!
These aren’t just ‘good for you’ treats; they are genuinely delicious, boasting that satisfyingcrispy-chewy texture and a balanced sweetness that will leave you feeling satisfied, not deprived. Forget the cloyingly sweet, sticky versions of yesteryear. My recipe focuses on wholesome ingredients, natural sweetness, and incredibly easy assembly, making them perfect for a quick snack, a lunchbox hero, or a satisfying little dessert. See more good recipes here , but make sure to try these first!
How This Recipe Works: Texture and Flavor
Achieving the ideal balance in a healthy treat can be tricky, but this recipe nails it. Here’s why these healthy rice krispie treats stand out:
- Perfectly Crispy Rice Cereals: We start with a base that delivers that beloved snap and crackle, without added sugars.
- Chewy Marshmallow Alternative: By using a clever combination of natural sweeteners and nut butter, we mimic the classic chewy texture without relying on traditional marshmallows.
- Balanced Sweetness, No Guilt: Natural sweeteners like maple syrup or honey provide just the right amount of sweetness, complemented by vanilla and a pinch of salt to prevent them from being overly saccharine.
- Quick, No-Bake Assembly: These come together in minutes on the stovetop and set up beautifully in the fridge, making them a perfect last-minute treat.
Ingredients and Substitutions: The ‘Why’
Here is what you need and why each ingredient plays a crucial role in creating the best healthy rice krispie treats:
Rice Cereal: Choosing Unsweetened and Whole Grain Options. The foundation of any good Rice Krispie treat! Look for cereals made with brown rice or whole grain rice that are unsweetened. This gives us a clean slate to build flavor and keeps the added sugar content in check. Brands like Nature’s Path Organic Rice Puffs or Erewhon Crispy Brown Rice are excellent choices. Using a healthier base means a more nutritious treat from the ground up.
Nut Butter: For Healthy Fats and Binding Power (Almond, Peanut, Cashew). This is your secret weapon for chewiness and structure. Creamy almond butter is my go-to for its mild flavor, but peanut butter or cashew butter work beautifully too. Just ensure it’s natural, with minimal added sugar and oil. The healthy fats contribute to satiety, and its sticky consistency helps bind the treats together without needing butter or excessive marshmallows. For a nut-free option, sunflower seed butter (SunButter) is a fantastic alternative.
Maple Syrup/Honey: Natural Sweeteners and Binders. These provide the sweetness and essential stickiness to hold everything together. Both maple syrup and honey are natural, unrefined sugars that also boast some beneficial antioxidants. Use pure maple syrup, not pancake syrup. If you’re vegan, stick with maple syrup. The amount can be adjusted to your personal preference, but I’ve found a sweet spot for balanced flavor.
Vanilla Extract: Enhancing Flavor. A splash of good quality vanilla extract elevates all the other flavors. It adds a warmth and depth that makes these treats feel truly special. Don’t skip it!
A Pinch of Salt: Balancing Sweetness. Often overlooked, a tiny pinch of salt is vital. It doesn’t make the treats salty; rather, it brightens and balances the sweetness, preventing the treats from tasting flat or overly sugary.
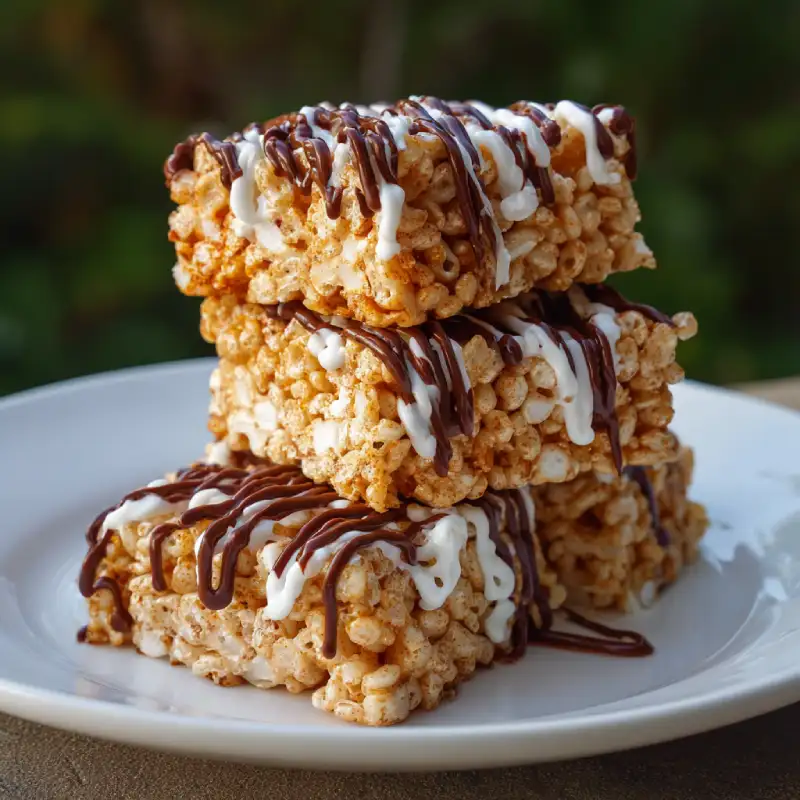
Optional Add-ins: Chocolate Chips, Seeds, Dried Fruit (When to Add). This is where you can get creative! Stir in some mini dark chocolate chips after folding in the cereal, or sprinkle them on top. A handful of chia seeds or flax seeds can boost fiber and omegas. Finely chopped dried cranberries or apricots add a lovely chew and tang. Make sure to add these extras once the wet mixture has slightly cooled but is still warm enough to incorporate them without melting or breaking apart.
How to Make Healthy Rice Krispie Treats
Follow these simple step-by-step instructions for perfect healthy rice krispie treats every time:
1. Prep Your Pan: Lining and Light Greasing
First things first, prepare an 8×8 inch square baking pan. Line it with parchment paper, leaving an overhang on the sides – this will make it incredibly easy to lift the treats out later. Lightly grease the parchment paper with a tiny bit of coconut oil or a non-stick spray to prevent sticking. This ensures smooth, clean removal and slicing.
2. Melt and Mix: Combining Wet Ingredients
In a medium saucepan over low-medium heat, combine your chosen nut butter, maple syrup (or honey), vanilla extract, and pinch of salt. Stir constantly until the mixture is smooth, well combined, and just barely simmering. You want it warm enough to be liquid and emulsified, but not boiling rapidly. This typically takes about 2-3 minutes. This forms the gooey binding agent for your treats.
3. Fold in Cereal: Gentle Coating for Even Distribution
Remove the saucepan from the heat. Pour the unsweetened rice cereal into the wet mixture. Using a rubber spatula or wooden spoon, gently fold the cereal into the wet mixture until every single piece is evenly coated. Be careful not to crush the cereal during this process; the goal is to coat, not pulverize, to maintain that crucial crispiness. If adding optional mix-ins, do so now.
4. Press and Chill: Achieving the Perfect Set
Transfer the coated cereal mixture into your prepared 8×8 inch pan. Using the back of your greased spatula, or even slightly damp hands, gently and evenly press the mixture into the pan. Don’t press too hard, as this can compact the cereal too much and make the treats overly dense or hard. Once pressed, place the pan in the refrigerator for at least 30-60 minutes, or until the treats are completely firm and set. This chilling time is non-negotiable for clean slices.
5. Slice and Serve: Clean Cuts for Neat Treats
Once thoroughly chilled, use the parchment paper overhang to lift the entire slab of treats out of the pan and onto a cutting board. Using a sharp knife that you’ve lightly oiled or run under hot water and wiped clean, slice the treats into squares. This technique will help prevent sticking and ensure beautifully clean edges. Serve immediately and enjoy your homemade healthy rice krispie treats!
Expert Tips for Success: Crucial Details
- Don’t Overcook the Wet Mixture: Heating your nut butter and sweetener mixture for too long can cause it to become too thick or harden as it cools. Keep it on low-medium heat just until smooth and combined, about 2-3 minutes.
- Press Gently: When pressing the mixture into the pan, use a light hand. Over-compacting the cereal can lead to tough, dense treats rather than light and crispy ones.
- Chill Time is Key: Do not rush the chilling process! Allowing the treats to fully firm up in the refrigerator for at least 30-60 minutes ensures clean, non-sticky slices.
- Adjust Sweetness: Taste the wet mixture before adding the cereal. If you prefer a sweeter treat, add an extra tablespoon of maple syrup or honey. Likewise, if your nut butter is already sweetened, you might reduce the amount slightly.
- Clean Knife for Slicing: For perfectly neat squares, lightly grease your knife with coconut oil, or run it under hot water and wipe it clean between each cut. This prevents sticking and ragged edges, making your presentation much nicer. For more baking wisdom, check out Food Network’s baking tips.
What to Serve With Your Healthy Rice Krispie Treats
These healthy rice krispie treats are delightful on their own, but here are a few ideas to round out your snack or dessert:
- Alongside Fruit: Pair a square with a bowl of fresh berries, sliced apples, or a banana for a balanced snack.
- With a Cup of Tea or Coffee: The subtle sweetness and satisfying crunch make them a perfect companion for your afternoon tea or morning coffee.
- As a Quick Dessert: A healthier alternative to traditional cakes and cookies, they’re perfect for satisfying a sweet craving after dinner without overdoing it.
Storing and Reheating Your Treats
Proper storage ensures your healthy rice krispie treats stay fresh and delicious:
- Airtight Container at Room Temperature: For best texture, store them in an airtight container at room temperature for up to 3-4 days. This keeps them perfectly chewy and crispy.
- Refrigeration for Longer Shelf Life: If you want them to last longer, transfer them to an airtight container and store in the refrigerator for up to a week. They might become a bit firmer when cold, but will soften up slightly at room temperature.
- Freezing Instructions: These treats freeze beautifully! Wrap individual squares tightly in plastic wrap, then place them in a freezer-safe bag or container. They can be frozen for up to 2-3 months. Thaw at room temperature for about 15-30 minutes before enjoying.
FAQ: Your Questions Answered
Can I use other cereals?
How can I make them vegan?
Are these gluten-free?
Why are my treats hard?
How long do they last?
Healthy Rice Krispie Treats
- Total Time: 15 minutes
- Yield: 9-12 servings
Description
Discover how to make the best flavor healthy rice krispie treats with our easy to bake, step-by-step recipe. Perfect for a healthier snack!
Ingredients
- 6 cups unsweetened puffed rice cereal (whole grain recommended)
- ½ cup natural nut butter (almond, peanut, or cashew butter)
- ½ cup pure maple syrup or honey (use maple for vegan)
- 1 tsp pure vanilla extract
- ¼ tsp sea salt
- Optional: ¼ cup mini dark chocolate chips, chia seeds, or dried fruit
Instructions
- 1. Line an 8×8 inch baking pan with parchment paper, leaving an overhang, and lightly grease.
- 2. In a medium saucepan, combine nut butter, maple syrup/honey, vanilla, and salt. Heat over low-medium, stirring, until smooth and just simmering (2-3 minutes). Remove from heat.
- 3. Add rice cereal to the saucepan. Gently fold until evenly coated. Stir in optional add-ins if using.
- 4. Transfer mixture to the prepared pan. Gently press it evenly into the pan with a greased spatula or damp hands.
- 5. Chill in the refrigerator for at least 30-60 minutes, or until firm.
- 6. Lift treats from the pan using parchment paper; slice with a clean, lightly-oiled knife. Serve and enjoy!
- Prep Time: 10 mins
- Cook Time: 5 mins