
There’s nothing quite like the comforting aroma of freshly baked banana nut bread filling your kitchen. Imagine sinking your teeth into a slice that’s rich, moist, and bursting with the sweet, mellow flavor of ripe bananas, perfectly complemented by the satisfying crunch of toasted nuts. And what if I told you that achieving this blissful experience could be almost entirely hands-off? Yes, today we’re diving into the wonderful world of achieving perfect banana nut bread in a bread maker! Forget the endless mixing and oven-watching; your bread machine is about to become your new best friend for this classic treat. For more incredible recipes that make your life easier, be sure to See more easy recipes.
Effortless Banana Nut Bread: Your Bread Maker Solution
My Go-To for Quick, Comforting Treats
Life gets busy, but that doesn’t mean we have to sacrifice homemade goodness. This bread maker recipe for banana nut bread is my secret weapon for those days when I crave something comforting and delicious but have zero time for traditional baking. Just a few minutes of prep, push a button, and let technology do the rest!
Experience Perfect Loaves Every Time
The beauty of the bread maker isn’t just the convenience; it’s the consistency. You get a perfectly baked, evenly browned loaf with a tender crumb every single time, thanks to the machine’s precise temperature control and mixing cycles.
Why This Bread Maker Recipe Stands Out
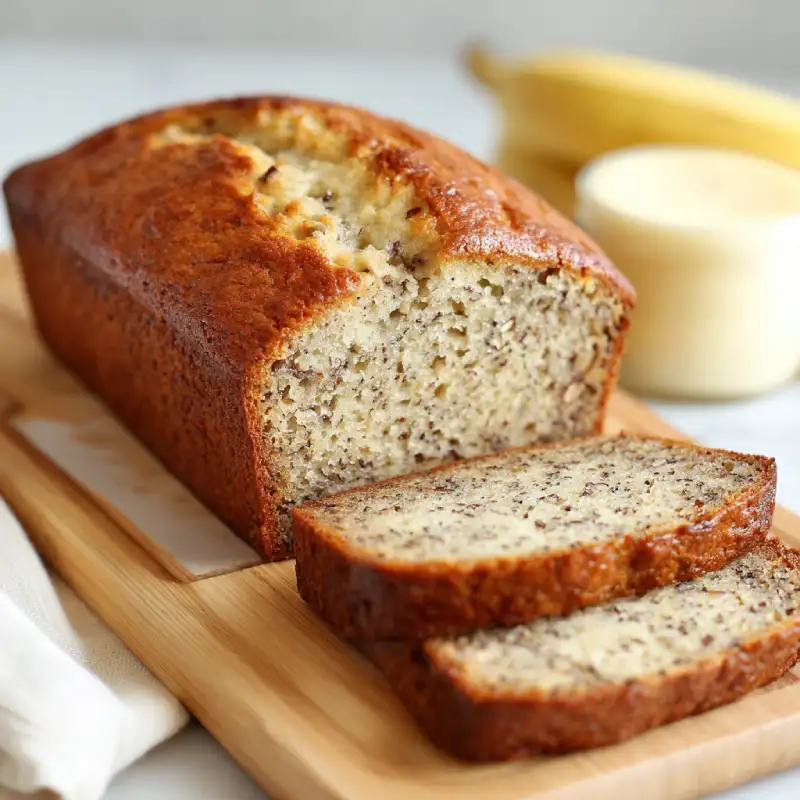
- Moist Interior, Golden Crust: Our specific ingredient ratios and the breadmaker’s environment ensure a loaf that’s incredibly moist on the inside with a beautifully golden-brown crust.
- Balanced Sweetness and Nut Crunch: We strike the ideal balance between the natural sweetness of ripe bananas and just enough added sugar, alongside the texture of crunchy nuts.
- Minimal Effort, Maximum Flavor: This recipe truly delivers. You’ll spend mere minutes combining ingredients, and your bread maker handles the rest.
- Consistent Results for Busy Bakers: Whether you’re a seasoned baker or a complete novice, this bread maker method guarantees a consistently delightful loaf.
- Uses Melted Butter for Moisture: Incorporating melted butter rather than solid ensures an even distribution of fat, leading to an exceptionally tender crumb.
- One-Basket Cleanup: All mixing and baking happen in one pan, drastically cutting down on cleanup.
Ingredients: What You Need & Why
Ripe Bananas: The star of the show! Always use very ripe, spotty brown bananas. These are sweeter, softer, and provide essential moisture. They’re critical for the success of your banana bread recipe.
All-Purpose Flour: I prefer unbleached all-purpose flour for its consistent texture and protein content.
Baking Soda: Our primary leavening agent. It reacts with the acidic bananas to create lift.
Salt: Essential for balancing the sweetness and enhancing all other flavors.
Ground Cinnamon: A warm spice that beautifully complements the banana flavor.
Granulated Sugar: Provides sweetness and helps with browning of the crust.
Large Egg: Acts as a binder and adds moisture and structure.
Melted Unsalted Butter: Adds incredible richness and moisture.
Vanilla Extract: A crucial flavor enhancer, adding depth and warmth.
Chopped Walnuts (or Pecans): The ‘nut’ in banana nut bread! They provide a lovely crunch.
How to Make Banana Nut Bread in Your Machine
1. Prepare Your Bananas and Wet Ingredients
In a medium bowl, mash your very ripe bananas with a fork until mostly smooth but with a few small lumps remaining. Then, add the melted butter, egg, and vanilla extract. Whisk together until well combined.
2. Load Your Bread Maker Pan
Always add liquids first. Pour your mashed banana mixture into the pan. Next, add the dry ingredients: sugar, flour, baking soda, ground cinnamon, and salt. Gently level the dry ingredients with a spoon.
3. Select the Right Cycle and Initiate
Place the pan in the machine. For quick breads, select the “Quick Bread” or “Sweet Bread” cycle. Some machines might even have a dedicated “Cake” cycle. Press start.
4. Add Mix-Ins When Prompted
Your bread maker will likely beep part-way through the mixing cycle. This is when you’ll carefully add your chopped walnuts. If no beep occurs, add them 5-10 minutes into the mixing cycle.
5. Cool and Enjoy
Once complete, let the bread cool in the pan for 10-15 minutes before transferring to a wire rack to cool completely. This prevents it from becoming gummy.
Expert Tips for Bread Maker Success
- Measure Accurately: Use the ‘spoon and level’ method for flour to avoid packing too much into the cup.
- Room Temperature Ingredients: Ensure your egg and melted butter are at room temperature for better texture.
- Patience is Key: Cooling the bread completely allows the starches to set for the best possible flavor and clean slices.
- Know Your Machine: Every bread maker is slightly different. Read your manual to understand its specific cycles.
Serving Suggestions: Enjoying Your Warm Loaf
- Classic Butter or Cream Cheese: A simple smear is always a winner.
- Sweet Pairings: Drizzle with honey, spread jam, or go decadent with Nutella.
- Savory Options: Try a sprinkle of flaky sea salt or serve alongside a breakfast scramble.
Storage and Reheating Best Practices
- Keeping it Fresh: Store tightly wrapped at room temperature for 2-3 days or refrigerate for up to a week.
- Freezing: This bread freezes beautifully for up to 3 months when wrapped tightly in foil.
- Reviving Slices: Reheat in a toaster or toaster oven until heated through and slightly crispy on the edges.
Banana Nut Bread in Bread Maker: FAQs
Can I use frozen bananas?
What if my bread doesn’t rise?
Can I add chocolate chips?
Bread Maker Banana Nut Bread
Effortlessly bake a moist and flavorful banana nut bread in your bread maker. This hands-off recipe delivers perfect results every time.
Prep: 10 mins | Cook: 1 hr 10 mins | Yield: 12 servings
Ingredients:
- 1 cup (225g) very ripe mashed bananas
- 1 large egg, room temperature
- 1/2 cup (113g) unsalted butter, melted and cooled
- 1 tsp vanilla extract
- 1 3/4 cups (220g) all-purpose flour
- 1/2 cup (100g) granulated sugar
- 1 tsp baking soda
- 1/2 tsp salt
- 1/2 tsp ground cinnamon
- 1/2 cup (60g) chopped walnuts or pecans
Instructions:
- Mash bananas and whisk in melted butter, egg, and vanilla.
- Pour wet ingredients into the bread maker pan.
- Add dry ingredients on top (sugar, flour, soda, salt, cinnamon).
- Select ‘Quick Bread’ or ‘Sweet Bread’ cycle and press start.
- Add walnuts when the machine beeps for mix-ins.
- Cool in pan for 10-15 mins before transferring to a wire rack.